

First, if you're using a pixel-art style border like we are you'll want to add the following code to your CSS
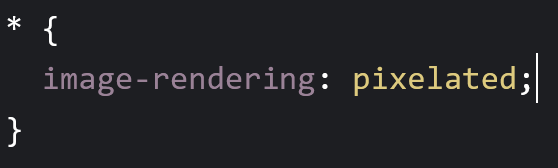
This will make the edges of pixel art images nice and sharp. Without it your images will be fuzzy when resized!
The * is used to select everything, so anything in it will be applied to the entire page.
Next, you're going to take your border image and use this website to generate some css for us!
You're going to either upload your image or paste a url in the box and your image will appear, along with a preview of how your border will look in action.
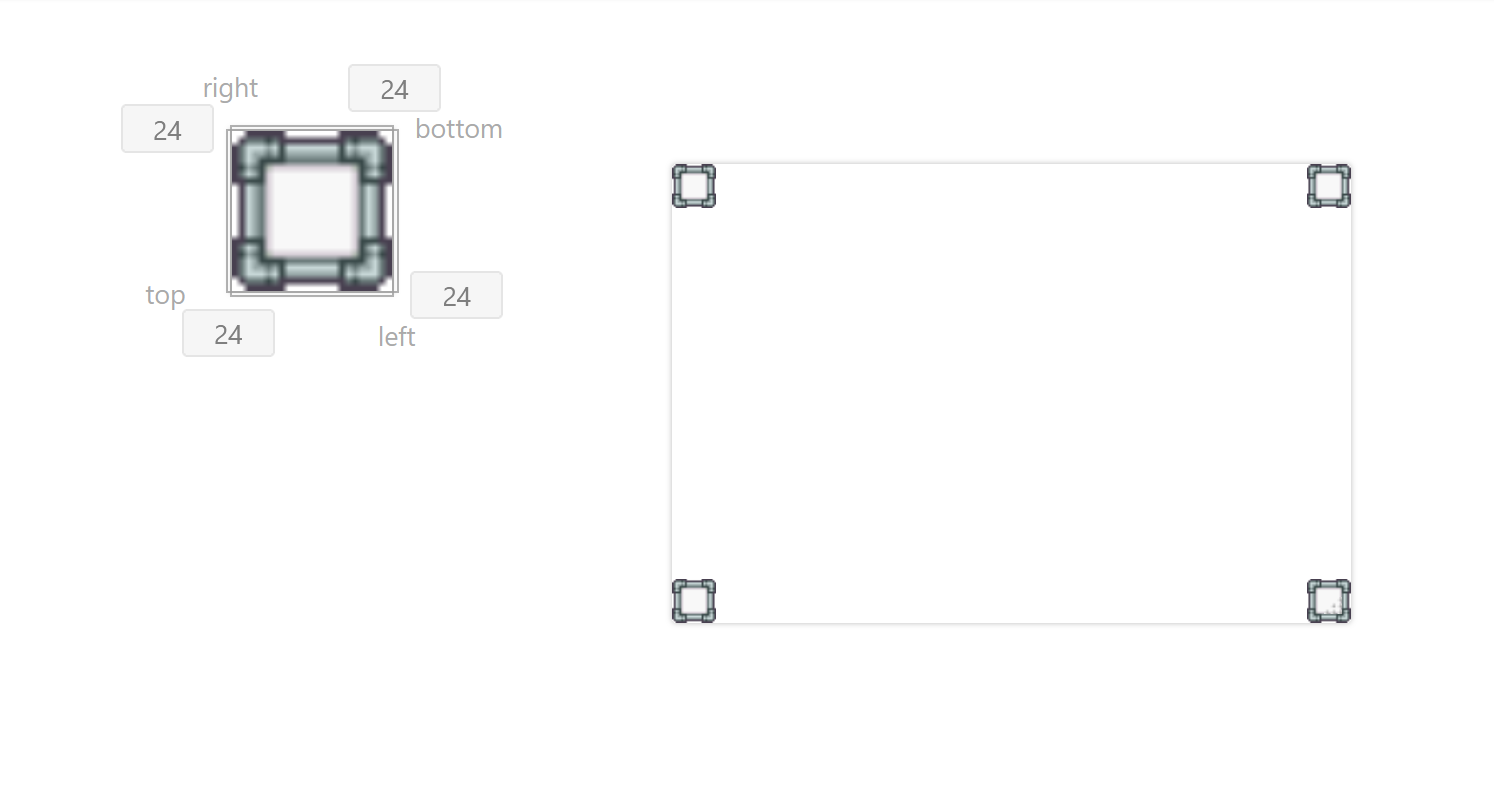
It should look something like this. Depending on your image size, it may look different. If you're using a small pixel art, it's going to look fuzzy on this site, but worry not! If you followed step one it will look nice and sharp on your site
Now, scroll down a bit until you see "border-image-slice". You're going to adjust those numbers until it looks good. If you click the green box you can choose between px and %. If you change all of them to % and change the number to 25, most images will work well enough. In this case I set the numbers to 34% and it looks great.
You don't really need to mess with border-image-width or border-image-outset unless you want to. border-image-width changes how thick your borders will be. 20px is usually a good size, so I normally leave it. For border-image-outset, I also usually leave it alone. It effects the distance of the border image from the outside edge of the element you're giving a border to. 0px is usually perfect.
Next is additional-properties. The first two options are all we need. In my case, 'stretch' is fine for repeat-x and repeat-y, but you may prefer "repeat" or "round". Maybe even "space". Probably not "space"
Finally, we can now click to copy that CSS code at the bottom! You can then paste it into your CSS file, wherever you need a border. Or you can make a "border" class and add that where you need.
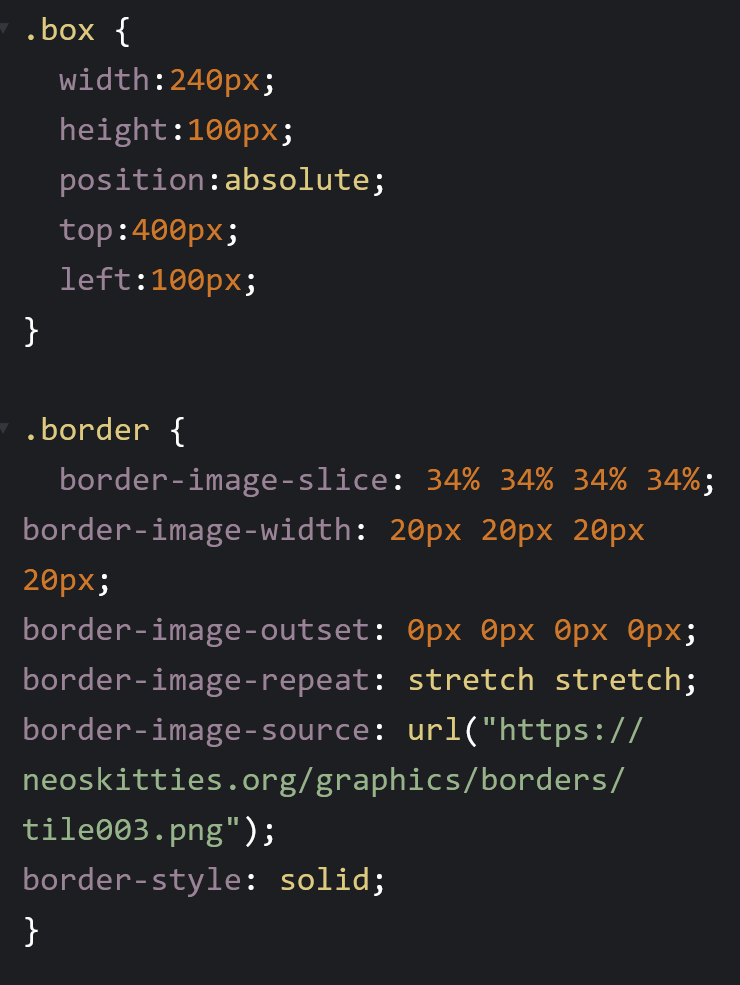
Your CSS should look something like this (I added a box class for example purposes).
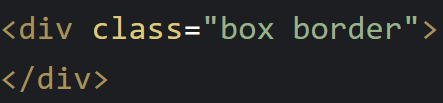
And your HTML should look something like this!
And with that...
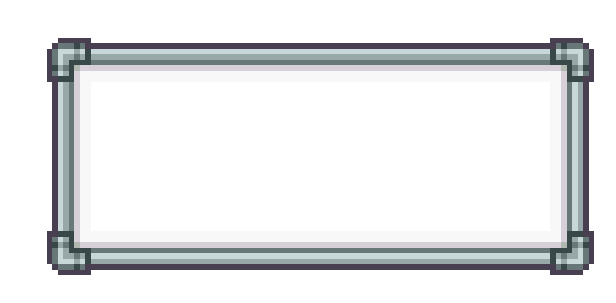
Your finished box should look something like this!
There you go! If you have any questions feel free to contact us!